What Searing Really Does
Let’s get one thing straight: searing meat isn’t just about charring the outside so it looks good. It’s about the Maillard reaction an amino acid and sugar level event that transforms raw meat into something deeply flavorful. Call it chemistry in action. The result isn’t just color; it’s complexity: nutty, toasty, umami packed layers that you can’t fake with seasoning alone.
Now, forget that old myth about searing “locking in juices.” It doesn’t. Juices still move freely during cooking. What searing does do is build a crust one that adds richness, contrast, and structure. It makes the outside compelling enough to make every bite feel elevated. That crust, combined with a seasoned baseline, is what sets a solid pan seared steak apart from a bland one.
You’re aiming for high heat, dry meat, and patience. That’s how you trigger the Maillard reaction and get that golden brown surface that crackles when you cut in. Think of it less like a cosmetic touch and more like the flavor foundation for the entire dish. Searing is how meat gets character.
Choose the Right Meat
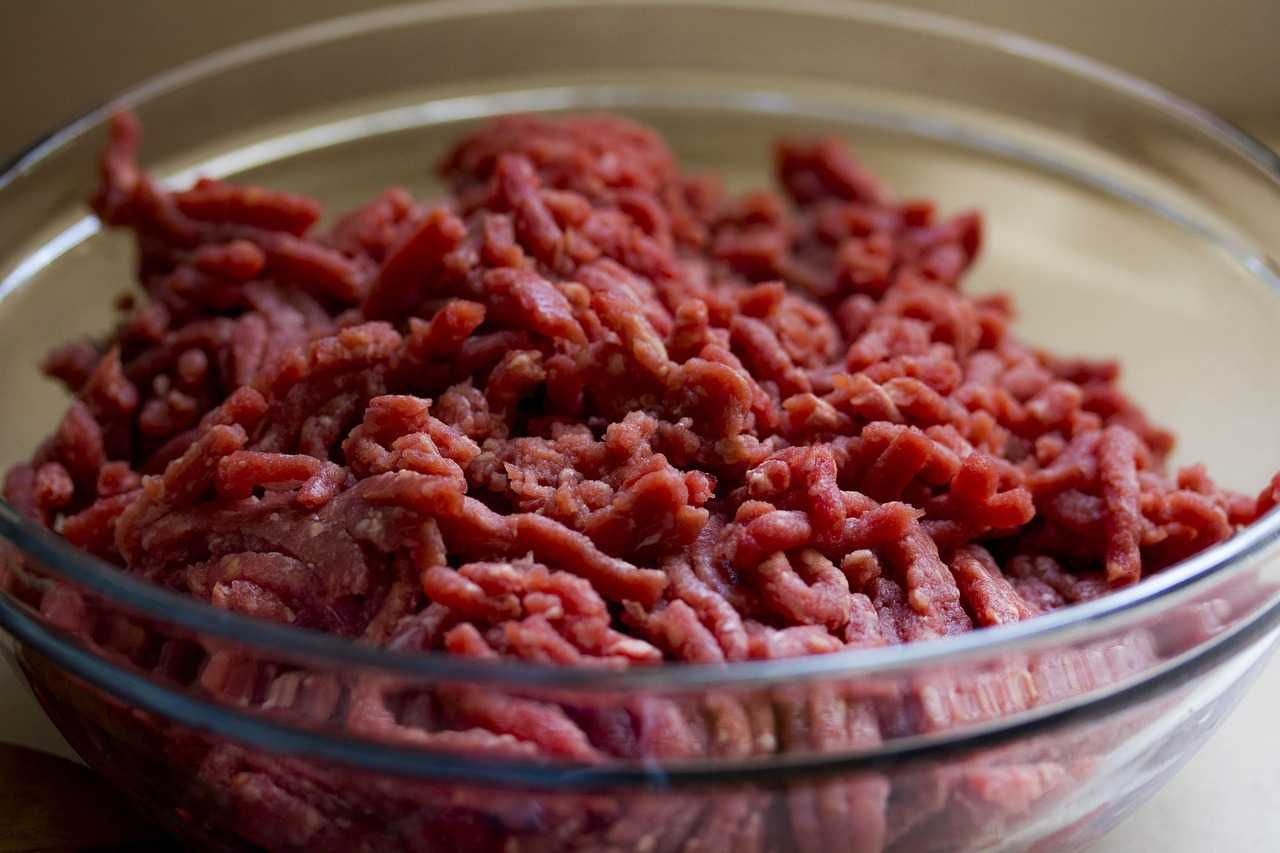
Not all meat cuts play nice with a hot pan. If you’re searing on the stovetop, stick to cuts with solid marbling and even thickness. Think ribeye, New York strip, pork chops, and filet mignon. These deliver fast, flavorful results and handle high heat without drying out. Avoid thin or ultra lean cuts they cook too fast or toughen up quick.
Before your meat hits the pan, bring it to room temperature. Not ice cold. This helps it sear evenly hot pan, warm meat, no surprises. Straight from the fridge steaks tend to cook unevenly and lose more moisture.
One last bit: dry your meat. Pat it down with paper towels like you mean it. Surface moisture is the enemy of a good sear it causes steaming, not browning. If you skip this step, don’t expect that deep, golden crust that makes searing worth the effort.
Pan, Heat, and Oil: Your Base Trio
First up: pick your pan like you mean it. Cast iron is the old school heavyweight champ retains heat like a furnace and delivers a crust that bites back. It’s not subtle, and that’s the point. Stainless steel is lighter and slicker. It heats up faster and works just fine if you know how to control it, but it cools off quicker when you drop in cold meat. If you’re after consistency and sear confidence, cast iron wins. Want maneuverability and quicker cleanup? Stainless will do the job just don’t skimp on preheating.
Speaking of heat: crank it. Searing is not a gentle process. You want your pan properly preheated just before smoking. Anything less, and your meat will steam instead of brown.
As for oil, go high smoke point or go home. Avocado, grapeseed, peanut these oils can take the heat without burning. Olive oil? Only if it’s refined. Extra virgin? Save it for your salad. Butter burns fast, so use it after the sear for finishing, not up front. Avoid anything that can’t handle the fire.
No shortcuts here. This trio pan, heat, and oil is your launchpad. Nail it, and you’re halfway to steakhouse glory.
Step By Step Searing Process
Start with a dry, heavy pan cast iron is your best friend here. Set it over medium high to high heat and let it ride until you see wisps of smoke. Not haze. Not steam. Smoke. That’s your green light.
Now add the oil. Go for one with a high smoke point canola, avocado, grapeseed. Tilt the pan slightly to spread it, then add the meat. Lay it down and back off. Don’t poke. Don’t nudge. Respect the crust let it build.
Sear time depends on thickness and cut, but a good rule of thumb is two to four minutes per side. You’re looking for a deep golden brown, not gray. Flip it once. Just once.
Once both sides are seared, drop in a knob of butter and toss in aromatics crushed garlic, thyme, rosemary. Tilt the pan, spoon the melted butter over the meat for 30 seconds or so. Quick baste, big impact.
Kill the heat. Transfer the meat to a plate or board. Let it rest at least five minutes. This isn’t a suggestion; it’s the final step to lock in juices and let the structure settle. That’s real flavor discipline.
Crucial Mistakes to Avoid
Let’s keep it simple: most searing errors come down to impatience or carelessness. Here are the big three mistakes that will sabotage your crust.
Overcrowding the pan Packing too much meat into the pan at once drops the temperature fast. When that happens, your steak isn’t searing it’s steaming. Steam doesn’t create a crust; it just turns your perfect cut into something soggy and gray. Give each piece of meat some breathing room. Sear in batches if you have to.
Undercooking/Overcooking If you’re guessing doneness by squeezing steaks or cutting into them, it’s time to upgrade. Use a meat thermometer. It’s fast, clean, and precise. You want that ideal internal temp without overdoing it. Especially when searing thick cuts, eyeballing it just doesn’t cut it.
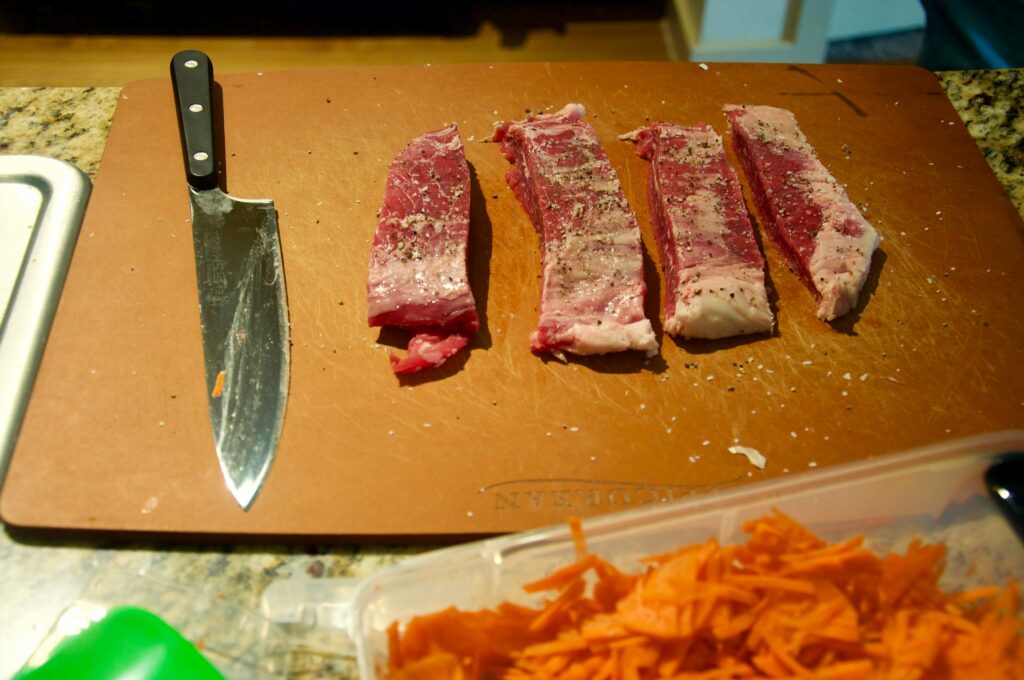
Searing without seasoning This is where flavor starts. Salt and pepper aren’t optional they’re essential. Season just before the meat hits the pan to avoid drawing moisture out early. No complex spice rub needed here just solid, generous seasoning. Let the meat speak, but don’t make it whisper.
Searing is simple, but it’s not mindless. Get these three right, and you’re more than halfway to a steak that hits hard.
When Searing Becomes Part of Something Bigger
Thicker cuts demand more than a quick stove kiss they need a game plan. Enter sear then roast. You start with a blazing hot pan to build that golden crust, then shift the meat into a preheated oven to cook it through without burning the outside. This method works especially well for ribeyes, pork chops, and bone in filets. Think fast sear, slow finish.
Once the meat’s out, don’t toss that pan. It’s gold. Deglazing adding a splash of wine, broth, or even water to lift up all those caramelized bits builds the flavor base for killer sauces. Scrape, reduce, season. That’s your sauce sorted in under ten minutes.
From there, it’s all about building the plate. Your seared star deserves a proper cast. Whether it’s buttery mashed, charred greens, or a sharp salad, rounding out the meal turns technique into experience. For smart, satisfying pairings, check out our ultimate food guide.
Bonus Tips from the Pros
Use a splatter guard. Seriously. If you’ve ever spent more time wiping grease off your stovetop than actually cooking, you already know why. It doesn’t just keep your kitchen walls clean it also makes post sear cleanup way less of a hassle.
Next, let the meat rest. Sounds trivial, but it’s crucial. Five minutes on a cutting board can mean the difference between a juicy steak and a dry one. Resting allows the juices to redistribute instead of spilling onto your plate at first cut. Walk away, set the table, pour the drink then come back and carve.
Finally, clean up. Don’t go at your pan with cold water and panic. Let it cool down slightly, then attack with hot water, a scraper (wood or silicone, not metal), and a little patience. That crusty fond left behind? It’s gold if you’re making a sauce, but if not, it still deserves a smart exit strategy. No soaking overnight. Just a few thoughtful minutes of work and it’s ready for the next round.
Level Up Your Kitchen Game
Searing isn’t some fancy culinary flex it’s core. Mastering it means you’re no longer just following recipes; you’re building them. Once you get the hang of creating that golden crust and locking in real flavor, it’s a short hop to pan sauces, cast iron dinners, and next level roasts. It’s one of those techniques that keeps paying you back, week after week.
Nail it, and suddenly you’re not staring blankly into the fridge. You’ve got options. Steak with shallot butter? Easy. Crispy pork chops with herb pan sauce? No sweat. It all starts with a proper sear.
Want to go bigger? Learn more about cooking techniques, seasonal menus, and game plan worthy meals in our ultimate food guide. Your stove is waiting.

 Ask Joshua Poulsenation how they got into cooking techniques and tips and you'll probably get a longer answer than you expected. The short version: Joshua started doing it, got genuinely hooked, and at some point realized they had accumulated enough hard-won knowledge that it would be a waste not to share it. So they started writing.
What makes Joshua worth reading is that they skips the obvious stuff. Nobody needs another surface-level take on Cooking Techniques and Tips, Delicious Recipe Ideas, Healthy Eating Tips. What readers actually want is the nuance — the part that only becomes clear after you've made a few mistakes and figured out why. That's the territory Joshua operates in. The writing is direct, occasionally blunt, and always built around what's actually true rather than what sounds good in an article. They has little patience for filler, which means they's pieces tend to be denser with real information than the average post on the same subject.
Joshua doesn't write to impress anyone. They writes because they has things to say that they genuinely thinks people should hear. That motivation — basic as it sounds — produces something noticeably different from content written for clicks or word count. Readers pick up on it. The comments on Joshua's work tend to reflect that.
Ask Joshua Poulsenation how they got into cooking techniques and tips and you'll probably get a longer answer than you expected. The short version: Joshua started doing it, got genuinely hooked, and at some point realized they had accumulated enough hard-won knowledge that it would be a waste not to share it. So they started writing.
What makes Joshua worth reading is that they skips the obvious stuff. Nobody needs another surface-level take on Cooking Techniques and Tips, Delicious Recipe Ideas, Healthy Eating Tips. What readers actually want is the nuance — the part that only becomes clear after you've made a few mistakes and figured out why. That's the territory Joshua operates in. The writing is direct, occasionally blunt, and always built around what's actually true rather than what sounds good in an article. They has little patience for filler, which means they's pieces tend to be denser with real information than the average post on the same subject.
Joshua doesn't write to impress anyone. They writes because they has things to say that they genuinely thinks people should hear. That motivation — basic as it sounds — produces something noticeably different from content written for clicks or word count. Readers pick up on it. The comments on Joshua's work tend to reflect that.